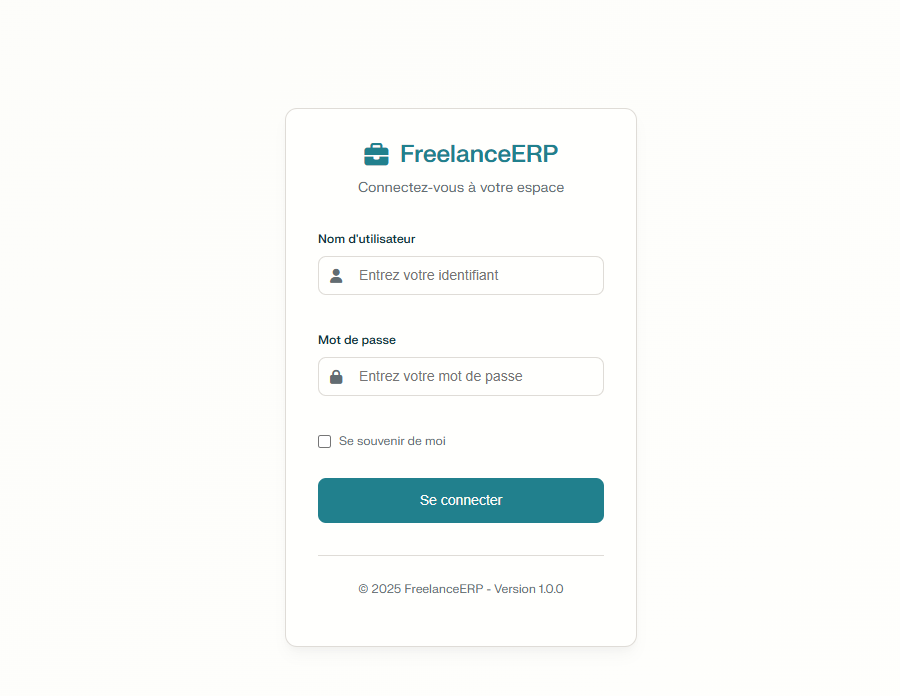
FreelanceERP
FreelanceERP (ferp) is a minimalist ERP for freelancers.
A lightweight Node.js application with an Express backend and a plain JavaScript frontend.
It manages clients, invoices, and payments with an embedded SQLite database — no external dependencies required.
Docker image: zabradocker/ferp:1.0.0
Goal: simplicity, portability, autonomy.
Designed as a lightweight alternative to tools like Akaunting or InvoiceShelf — ideal for independent IT freelancers who prefer control and speed over complexity.
- The Github repo: https://github.com/cdtzabra/FreelanceERP

mTLS — Certificate-Based Authentication
Mutual TLS (mTLS) adds an extra layer of security by requiring both the client and the server to present valid certificates.
This ensures that only trusted clients — such as your own devices or authorized users — can access the application.
The following steps describe how to create and configure certificates for secure access to freelanceERP, with Traefik handling the mTLS verification and certificate validation process.
Certificate
- Create CA key and self-signed cert (secure ca.key)
# CA private key (4096 bits)
openssl genpkey -algorithm RSA -out ca.key -pkeyopt rsa_keygen_bits:4096

# Self-signed CA cert (10 years)
openssl req -x509 -new -key ca.key -sha256 -days 3650 -out ca.crt \
  -subj "/C=FR/O=Enoks/CN=FreelanceERP-CA"
- Create client key + CSR
openssl genpkey -algorithm RSA -out client1.key -pkeyopt rsa_keygen_bits:2048
openssl req -new -key client1.key -out client1.csr -subj "/CN=samsung-s24/O=Enoks"
- Sign CSR with CA (enable clientAuth EKU)
printf "extendedKeyUsage = clientAuth\n" > client-ext.cnf

openssl x509 -req -in client1.csr -CA ca.crt -CAkey ca.key -CAcreateserial \
  -out client1.crt -days 365 -sha256 -extfile client-ext.cnf
Store ca.key offline and securely. Copy ca.crt to Traefik host for trust.
- Export to PKCS#12 for devices import (.p12)
openssl pkcs12 -export -out client1.p12 -inkey client1.key -in client1.crt -certfile ca.crt \
  -name "FreelanceERP device-iphone-01"
# choose a strong export password
Now you can import client1.crt in your device to grant it the accesss
Traefik Settings
Update your existing Traefik configurations or show Traefik page for first installation
- Traefik dynamic TLS options — create
traefik/dynamic/mtls.yaml
tls
tls:
  options:
    mtls-required:
      clientAuth:
        caFiles:
          - /etc/traefik/ssl/ca.crt   # mount this in Traefik container
        clientAuthType: RequireAndVerifyClientCert
      minVersion: TLS12
      sniStrict: true
- Mount the
ca.crtand dynamic folder
Mount CA + dynamic files into Traefik container Traefik service (fragment):
services:
  traefik:
    image: traefik:v3
    # ... existing static config ...
    volumes:
      - ./traefik/dynamic/:/etc/traefik/dynamic/:ro
      - ./traefik/ssl/ca.crt:/etc/traefik/ssl/ca.crt:ro
      - ./acme.json:/acme.json
    # ...
Deploy or re-create your traefik container
LABEL
In you app docker-compose.yaml file, add this additional label with the other Traefik labels
- "traefik.http.routers.<ROUTER>.tls.options=mtls-required@file"
You app docker-compose.yaml will look like
docker-compose.yml
---
# use the same network a straefik
networks:
zabra:
    external: true

services:
ferp:
    image: zabradocker/ferp:1.0.0
    container_name: ferp
    restart: unless-stopped
    networks:
    - zabra
    expose:
    - "3001"
    #volumes:
    #  # to mount dada in local folder
    #  - ./xxx:/opt/data:rw
    environment:
    # - DB_DIR=/opt/data/
    - PORT=3001
    - ERP_AUTH_USER=${ERP_AUTH_USER}
    - ERP_AUTH_PASSWORD=${ERP_AUTH_PASSWORD}
    - ERP_AUTH_EMAIL=${ERP_AUTH_EMAIL}
    - SESSION_SECRET=${SESSION_SECRET}
    labels:
    - "traefik.enable=true"
    - "traefik.http.routers.ferp.rule=Host(`myapp.example.com`)"
    - "traefik.http.routers.ferp.entrypoints=websecure"
    - "traefik.http.routers.ferp.tls=true"
    - "traefik.http.routers.ferp.tls.certresolver=letsencrypt"
    # Use mTLS only for this router (file provider target)
    - "traefik.http.routers.ferp.tls.options=mtls-required@file"